Z-Image Low VRAM: Lightweight Models & Complete Guide
This guide is intended for users with older GPUs or systems with limited VRAM. If your PC does not have a graphics card with around 16GB of VRAM, you will need to apply specific adaptations to the official Z-Image and ComfyUI workflow in order to generate images at a reasonable speed without running into memory issues. I can personally confirm that this method works perfectly, as my own PC uses a GPU with only 6GB of VRAM. The process is very similar to the original workflow, with a few additional manual steps. The lightest model compatible with this setup can run on GPUs with as little as 4GB of VRAM.How to Run Z-Image Turbo on Low VRAM GPUs
STEP 1: Download the Original Model Files
Even though we will replace a couple of the largest files in this workflow, all other files are still required for the model to function correctly. The easiest way to download them is by following the same automatic process used in the official Z-Image installation guide for high-end GPUs. You can safely skip downloading the two largest files (each around 15GB), as these are the ones we will replace with lighter versions and they will not be used at any point.STEP 2: Install ComfyUI-GGUF
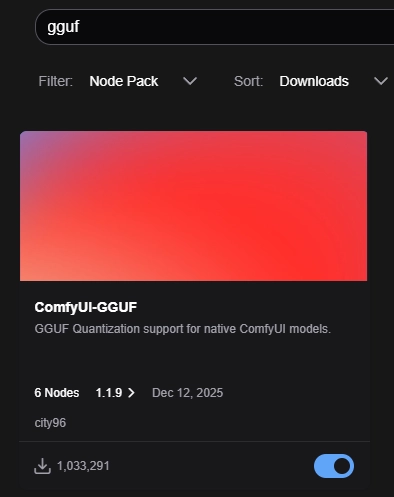
You will need a specific node extension for this workflow to work correctly. Click on the ComfyUI logo in the top-left corner, then select "Manage Extensions". Inside the extensions manager, type "gguf" into the search bar and install the extension called Comfy-GGUF.
 Once the installation is complete, restart ComfyUI to apply the changes correctly.
If you are using an older version of ComfyUI, the installation process is slightly different. In that case, click the "Manager" button in the top-right corner, then select "Custom Nodes Manager", search for GGUF, and install ComfyUI-GGUF from there.
Once the installation is complete, restart ComfyUI to apply the changes correctly.
If you are using an older version of ComfyUI, the installation process is slightly different. In that case, click the "Manager" button in the top-right corner, then select "Custom Nodes Manager", search for GGUF, and install ComfyUI-GGUF from there.
STEP 3: Download and Import the Workflow
To run Z-Image Turbo on low VRAM hardware, you will need a special workflow that is not included in the default ComfyUI template gallery. You can download it from the link below: Once downloaded, simply drag the workflow file into ComfyUI to open it.STEP 4: Download the Z-Image and Qwen Models Adapted for Low VRAM
These are the models that will replace the original heavy files so your GPU can handle them. There are multiple variants available, and you should choose one based on your GPU's VRAM capacity. The download page lists the size of each GGUF variant. Next, download the corresponding Qwen model that matches the same GGUF variant. For example, if you download z_image_turbo-Q3_K_M.gguf, you should also download Qwen3-4B-Q3_K_M.gguf. Once both files are downloaded, place them in the following folders:- z_image_turbo-Q3_K_M.gguf (or your chosen variant) goes into ComfyUI/models/unet
- Qwen3-4B-Q3_K_M.gguf (or your chosen variant) goes into ComfyUI/models/text_encoders
STEP 5: Select the Correct Models in the Workflow
To complete the setup, select the newly downloaded models inside the workflow. Click on the model name displayed in each node and choose the correct GGUF variant from the dropdown menu. The top node should use the Z-Image Turbo model, and the bottom node should use the Qwen3 model. If the models do not appear in the list, restart ComfyUI and reopen the workflow.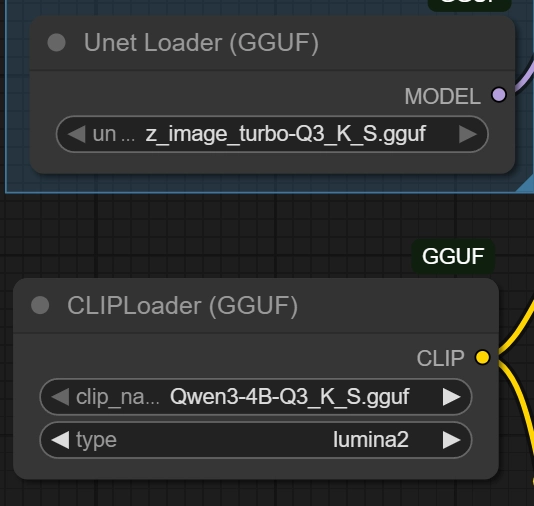
STEP 6: Start Generating Images with Z-Image Turbo
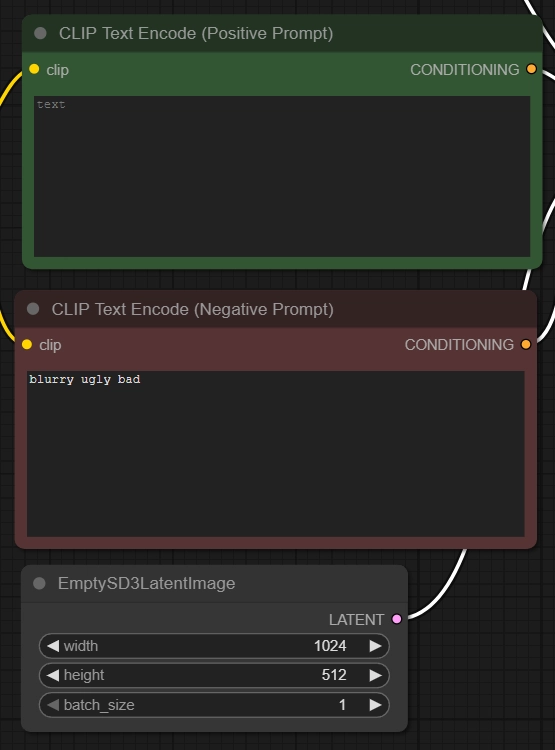
Your setup is now ready. To generate images:- Enter the text prompt describing the image you want to generate.
- Optionally enter a negative prompt if you want to fine-tune a specific image.
- Select the image width and height. Smaller resolutions generate faster.
 Click "Run" in the top-right corner and wait for the image to be generated. The first generation of each session will always be slower because the models need to be loaded into memory. From the second generation onward, you'll experience the real speed of the workflow.
RECOMMENDED GUIDES